
To recap a little, I am planning on making a display using a repurposed antique type case to hold family photos. The display would look something like this:

This is the old type case that I ordered off of EBay:

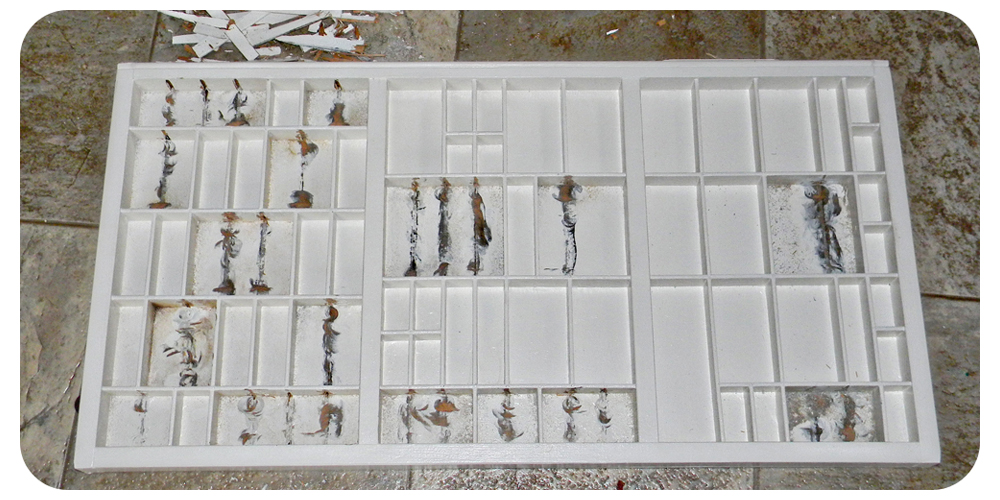
Last I posted, it had been painted white and was awaiting some photographs:

Once the paint was dry, I realized that I really needed to do those modifications after all. I wish I had just listened and done it before I painted. Too late now!
So I grabbed some good ol' pliers and got to tearing:

The next step was to fix the big holes that were gouged into the sides of the type case drawer's frame:

A little spackle, sanding, more spackle, and more sanding later. . .

. . . I was finally ready to repaint.
About a week later I went through a made a collage of photos to print using different processes and colors. I printed each one and laid them out on the type case drawer:

I decided to go with sepia. . . it really wasn't a super hard choice; it definitely looked the best.
Then I. . . *crickets* . . . did nothing to be honest. Summer arrived and I completely blew off the project. I did measure out the size of each window I suppose. The next step will be tedious. I need to go through our family photos and decide which ones to use, and then crop them so that they will print out the proper size for the windows. I am imposing a 1 week deadline to finally get this taken care of because it has been way too long. Then all I need to do is print the suckers off and assemble them in the frame.
I even bought a wall quote already, though I don't plan on showing that off until the whole project is done. I need to leave some things a surprise for the big reveal.
I got a swatch of different potential colors from wallquotes.com so that I could have an idea of what would look best:

Chocolate brown was my first choice, followed by black.
I ended up going with black however because it is more widely available and it also matches our table and chairs set in the dining area.
I have also decided to add one additional part to this project and it isn't a particularly small one. You see, we have a bit of a problem here in our dining area; the walls get constantly scuffed up by the black chairs and other random objects. I tried to photograph them, but didn't do a good job:

They really are worse than these pictures lead on:

The entrance to the dining area has some big grooves where we used to have a baby gate up too that need fixing and repainting:

We have remedied a few things that were causing these problems. For one, the baby gate was moved elsewhere so we don't have to worry about annoying marks from that anymore. The scuff marks from the chairs were happening because they were always being shoved aside to make room for the high chair. I finally decided to pitch the high chair and get a couple of booster seats instead. This allows us to save a lot of space and keep the table in the center of the small dining area versus pulled off to the side where it endangers the walls.
Now we need to fix up the wall. At first I was just going to sand, fill where necessary, and paint. Hubby suggested we put some crown molding along the height where the chairs hit to make it even less likely to mark the wall. I thought about it and I kind of liked the idea. We decided that the lower section should be a different color than the top or else the wooden bar along the wall would look way too random. I brought home several paint swatches and went with Georgian Leather:

I don't even remember the brand off hand, but I'll mention it in an update later.
The photo makes it look a little more bright orange than it really is.
But wait, there's still more!
I have been really wanting to try out a wallpaper stencil since I have been seeing so many cool ones online lately. A couple of websites that show great ideas for this are royaldesignstudio.com and walltowallstencils.com. Here is a cool example of a damask pattern featured in Wall to Wall Stencils:

It is gorgeous, but too busy and large for the area I need done.

It has the right proportions and is very simple so it won't look uber busy in the small area.
I wanted to visualize what this might look like when finished so I took this photo:

. . . and made a digital version of it with the changes I want done:

I figure the stencil color will be an in between of the two wall colors because I want everything to be rather subtle. I think this could turn out rather nicely. If not. . . I can always paint over the stencil and leave the wall how we had originally planned.
I have not run the stencil part by the hubs yet. Since. . . I suppose. . . it wouldn't be fair to do something like that without consulting him (he lives here too I guess), this project is pending on his approval. Maybe my nifty (yes it's nifty, what of it?) digital version will help persuade him.
I hope to have will have some progress done by next week. I highly doubt anything will be finished, but anything will be an improvement over the last 3 months.
Well, if it's any help in convincing Mike, I like it!
ReplyDeleteCool idea -- how did you make the ditigal mock up? What software did you use? Any progress to report?!
ReplyDelete